Shopping cart (0)

Cart

  • Cart empty
  • Total 0,00 €
Show Cart
English

English (50)

How to cut granite and which tools to use

How to cut granite and which tools to use

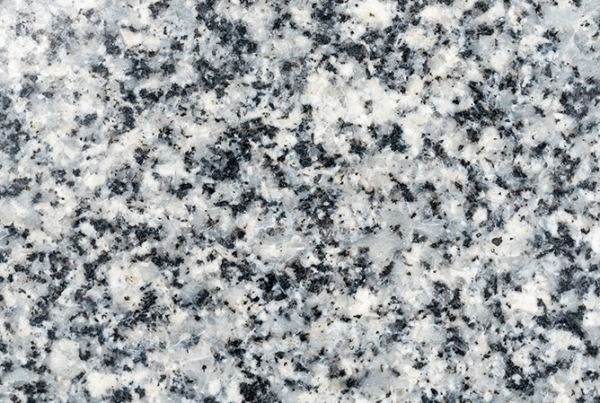
Granite is a very versatile material, formed by the slow cooling of molten magma at very high temperatures. This is an igneous, white rock, formed under the earth’s crust – in which we find those crystals that are so characteristic of this stone. If you want to know how to cut granite and which tools to use, keep reading!

What tools do I need to cut granite?

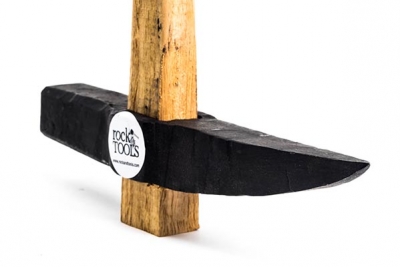
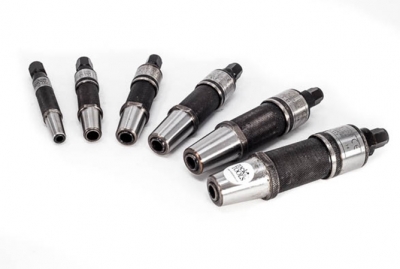
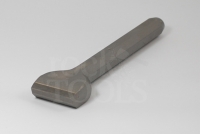
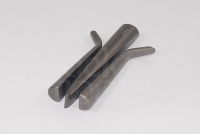
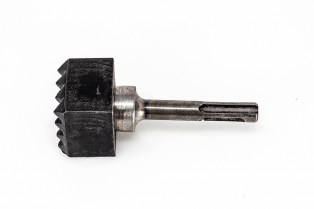
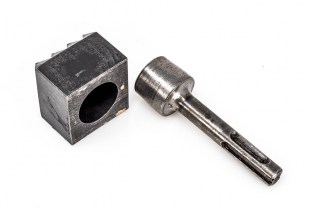
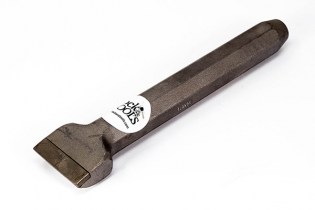
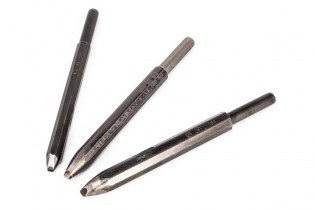
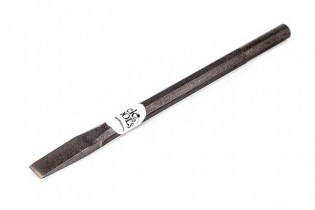
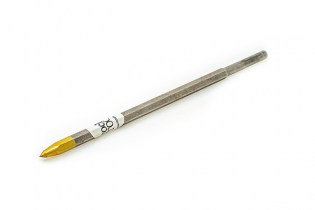
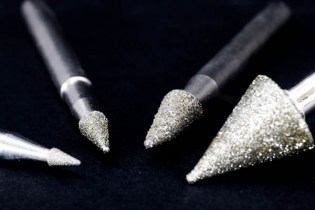
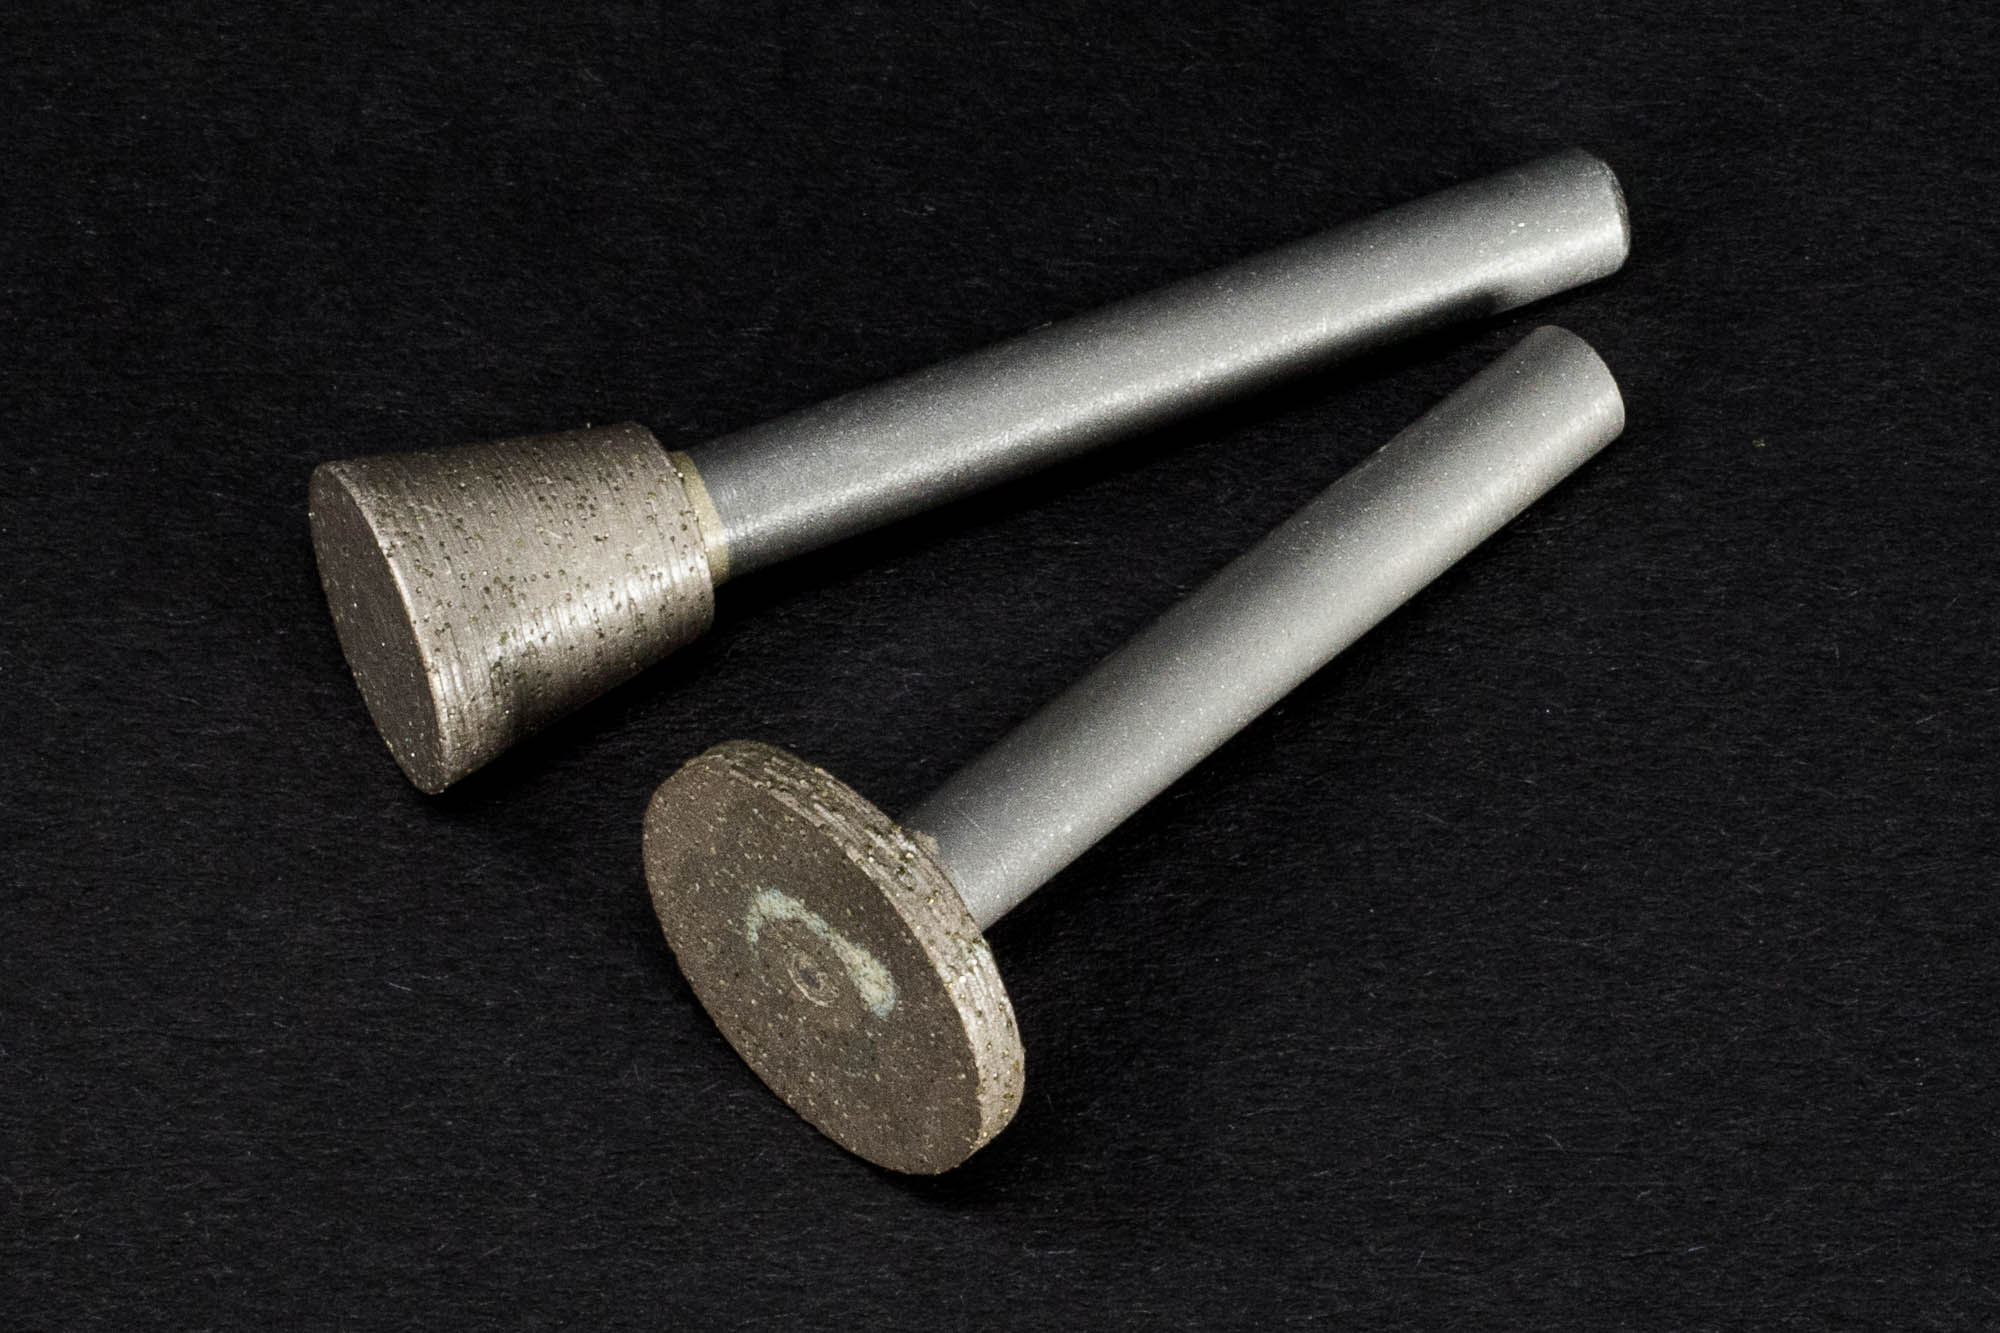
Due to its characteristics, there are various ways to cut, drill or polish granite. You’ll need a powerful machine, as well as a grinder that allows you to use different types of cutting discs.

Radial and table saws are the most common tools used to cut granite, as they are the most effective at this task. Diamond discs allow us to make clean, straight and chip-free cuts.

How do you cut granite safely?

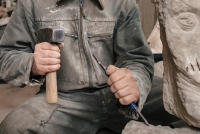
Cutting granite requires a great deal of precision and care; however, it’s important not to neglect that essential element: safety while working. Not just for you, but also to avoid damaging the piece you’re working on.

As you know, granite is a very dense material, and as such, it’s important to use the right diameter cutting disc, and to make sure that this is in good condition (do not use with non-rock materials). Here are some tips we recommend for cutting granite with all the necessary safety measures:

  • Remove all accessories (watch, bracelets, bangles, etc.), tie up your hair if necessary and roll up your sleeves. This is essential in order to avoid any possible accidents.
  • Use safety glasses or a safety mask.
  • Check that you have the tool configured with the right setting.
  • Work slowly to avoid losing control of the blade’s positioning.
  • Always concentrate while carrying out these kinds of tasks.

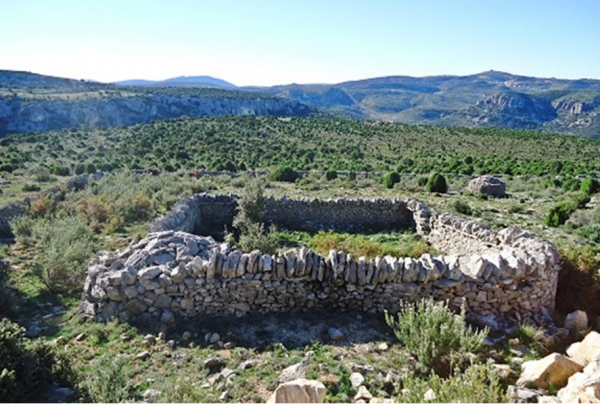
Everything you need to know about dry stone at Rock&Tools

At Rock&Tools we sell various tools for working with stone, and if you have any questions about which tool you need for a specific job, don’t hesitate to get in touch. On our website, you’ll find a comprehensive range of all the best tools for sculpting stone, with a huge amount of interesting information about sculpture available on our blog. What’s more, you can also join our community! Follow us here, on our Art Space and on our social media.

Read more...
Dry stone constructions for storing water

Dry stone constructions for storing water

Photo source: castellon-en-ruta-cultural.es

As many of you will already know, the dry stone building technique involves using stone as a single construction element, without the need for a mortar. We have already discussed this technique in other posts, as well as the tools used for it and the types of constructions that can be made. This time we’re going to talk about the different stone constructions that were used for storing water.

Discover them with us!

In areas with erratic rainfall, it was essential to make sure that there was enough water available for people, as well as for crops and livestock. That is why people started to build ponds and other types of constructions for storing rainwater. This category includes:

Ponds

A pond is a container of water with a flat circular base that is located outside and left uncovered. The walls of these ponds were built using the dry stone technique, while the base was usually made from clay (a material that is practically waterproof). Walls were built around the ponds to prevent animals entering the water, and they would even be covered with a false dome.

Cistern

Cisterns are a smaller type of underground pond. They have a rectangular or square base and are covered and surrounded by a cabin with a metal or wooden door, to allow people to enter and collect water with a bucket. This indoor pond is dug into the ground, either by taking advantage of a natural recess in the rock or by using a hole that has been made specifically for this purpose. It has two holes, one for the water to enter and another for the overflow.

Pit

Pits are rectangular in shape and are dug into the rock. They are located in the lower area of a large rocky surface and have grooves furrowed into the stone that channel water into the pit. They are usually covered with a metal or wooden lid to prevent animals from accessing them.

Discover more about dry stone at Rock & Tools

At Rock&Tools we have a lot of experience in the sale of tools for working with stone and for the dry stone technique. On our website you will find a comprehensive range of all the best tools for sculpting stone and those who are interested in the world of sculpture will also find a lot of fascinating information on our blog. If you have any further queries about the most suitable tools for you, get in touch with us so we can advise you. Join our community! You can follow us here, in our Art Space and on social media.

Read more...
The art of sculpture and its characteristics

The art of sculpture and its characteristics

Sculpture is a form of artistic expression that involves modelling, sculpting or carving stone, wood or other materials. Sculpture is considered one of the 7 arts, alongside music, painting and dance, and sculptors can use it to express themselves through the use of volume and space. Today we’re going to talk about the art of sculpture in more detail.

The characteristics of sculpture

The materials used in sculpture can range from clay to stone, and also include wood, marble, wax, plaster and various different types of metal. More and more different types of techniques continue to be incorporated into this art form as new materials are being developed, such as different kinds of resins or plastics that allow sculpture to expand its artistic horizons.

Sculpture has been used to create original and fascinating works of art and also to recreate and portray figures, characters, objects, people and animals. These figures may be a fully realistic representation or they may be entirely abstract, depicting the artist’s vision of a specific aspect.

One of the key aspects of sculpture is how the artist uses and controls space and its forms. It is therefore essential for the artist to consider details like height, depth, volume and shapes when it comes to designing their work of art.

Origin and uses of sculpture

Sculptures were originally intended for religious purposes, as they were used for magic rituals, funeral rites represented by the funerary art or ceremonial practices. Later on, in addition to their religious use, they also began to serve a political purpose: they would be used to express the power of monarchs and helped to conserve the history of society.

Finally, sculpture also began to be used for purely aesthetic purposes, which is its most common purpose today. As such, artists attempt to portray beauty or certain artistic aspects through the use of volumes and shapes, or to create objects for decorative purposes.

Purchase tools and produce your own sculptures

At Rock&Tools we have a lot of experience in the sale of tools for working with stone. On our website you will find a very comprehensive catalogue with all the best tools for sculpting stone. If you have any further queries about the most suitable tools for you, go to our blog to find all the information you need or get in touch with us so we can advise you. Join our community! You can follow us here, in our Art Space and on social media.

Read more...
Different types of dry stone constructions

Different types of dry stone constructions

As you already know, the technique for building with dry stone is based on using stone as a single construction element, without the need for mortar. We find this topic particularly interesting and would like to delve into it further, so today we’re going to talk more about the different kinds of constructions that can be built using this technique. Will you join us?

Read more...
How to clean pneumatic tools properly

How to clean pneumatic tools properly

Looking after your tools, whether they be manual or pneumatic, is essential for extending their service life. Investing in good equipment for sculpting stone is important, but aside from the properties of the tools, it is also absolutely essential to look after them properly to make sure they continue working for years to come, just as well as the day you bought them. To help you with this, we will give you two options for cleaning your pneumatic tools, so they are always in perfect condition.

Read more...
What is a pitcher and what is it used for?

What is a pitcher and what is it used for?

If you’d like to venture into the exciting world of sculpture, Rock&Tools is here to welcome you! If you’re not sure what each tool is used for or which you should buy first, don’t worry, you can find lots of information on this topic in our blog. Today we’d like to talk in detail about pitchers, what they are and what they’re used for.

Read more...
How to properly look after your tools

How to properly look after your tools

Both manual and electric tools require essential maintenance at home. Keeping them in good condition is essential so you can get your full money’s worth from your investment and enjoy using them for as long as possible. That is why today we’d like to give you all the advice you need to ensure all your tools are kept in the best condition possible.

Read more...
Main differences between hammers and mallets for sculpting

Main differences between hammers and mallets for sculpting

There are various different types of hammers and mallets for sculpting, although they are not all used for the same purposes. If you only recently started using your own tools for sculpting, you may be asking yourself: “when should I use each of them?” If this is the case, don’t worry, because in this post we will help you to understand the main differences between hammers and mallets for sculpting, and which you should choose for each case.

Hammers

The working part of the tool is usually made of steel, while the part that is used for holding the tool is generally made of wood or rubber. Although the most well-known type of hammer is the one with flat ends, as well as another kind with a kind of downward curve, there are other types of hammers that are more useful for sculpture.

  1. Manual hammers for bush hammering. These kinds of hammers are used for bush hammering stone. If you’d like to know more about this technique, there is a post on our blog where we talk about it in depth.

  2. Splitting hammers. As the name indicates, these hammers are designed specifically for splitting stone into two blocks.

  3. Crandall hammer.This unique hammer is ideal for adding texture to blocks of sandstone.

  1. Toothed stone axes. This is one of our most popular tools. At least one side of its head will be toothed and it is used primarily for working on the edges of a piece of stone.

Mallets

As opposed to hammers, mallets usually have a rounded head made from different materials, such as steel or white beech, although there are some with a flat head. Their handles are usually shorter than those on hammers and they are commonly used as a tool for striking other sculpting tools, such as chisels, for example.

  1. Round mallet. This mallet has a rounded striking surface that enables you to make solid strikes easily.
  2. Round white beech mallet. This mallet is hardened to give it more power, making it more effective.
  3. Ergonomic mallet. In addition to its hardened steel bell, this type of mallet also has a fully ergonomic wooden handle for a better grip.

How can you use it safely?

It’s very important to take precautions when working with this tool. It is essential that you minimise risks, to protect yourself and anyone else nearby. We will outline some guidelines that you should follow:

  • Make sure that the hammer or mallet you’re using is the correct size and weight. If it is too heavy this could cause unnecessary accidents.
  • Before beginning, check that your tools are in good condition, that they are not broken, that the handle and head are properly attached, etc.
  • Protect yourself with glasses, gloves and a mask to work safely.
  • Once you’ve finished, make sure you clean up properly and tidy everything away, including your tools. It is essential that you clean your tools after use, both the heads and the handles, to ensure they are properly maintained.

We have all the tools for sculpting stone that you could possibly need.

At Rock&Tools we are specialists in the sale of high-quality tools for sculpting stone. If you’d like to start making your own pieces and you have a clear idea of what you’d like to do, but you’re not sure what tools you should be using, ask us and we can give you personalised advice to ensure that you choose the perfect option for you. We’d love for you to join our community

Read more...
How to break or cut stone correctly

How to break or cut stone correctly

Learning to cut stone correctly to produce the size you want and form your pieces is an essential skill for any sculptor, whether they’re an amateur of a professional. Cutting stone can be a slow process but, although it requires a lot of work, doing it correctly ensures that the piece will last a lot longer. We’ll tell you all you need to know to cut stone properly, and the different methods you can use.

Cutting stone with wedges and shims

Cutting stone with wedges and shims (also know as V cutting) is the traditional method for splitting blocks of stone in a simple way. The objective is to obtain different volumes with the flattest sides possible.

The most important thing when using this method is to follow the grain of the stone that you’re cutting. If you do this, you won’t need to use as many wedges and shims, as the whole operation will be more simple. However, if you decide to cut perpendicular to the grain, the process will become more complicated and you’ll need to more wedges and shims.

To do this, first you’ll need to make holes in the stone, then use the wedges in combination with two steel shims with sharp edges, which will help the wedge to split the stone apart. The size of the wedges and shims you use will depend on the size of the stone that you’re splitting. For example, to split a piece of stone of 24-36 cm in size, wedges and shims of 13x70 mm in size may be sufficient.

The holes should be made in a straight line, with a space of around 10 cm between each one, and they should be in a V shape, with the widest part of the hole towards the outside of the stone, becoming more narrow inside the stone. Once you’ve made the holes, place the wedges and shims inside with the ears pointing in the direction of the fracture line, and then strike each one successively (strike the first one, then the second, and continue like this until you’ve hit them all, then start over). Keep doing this until the stone eventually opens up down the middle. Bear in mind that the hole you make should be deeper than the height of the wedge, to prevent it from hitting the bottom and breaking or deforming the stone. This video will give you a simple explanation of the entire process.

Cutting stone with machinery

For this technique you will need a grinder or a circular saw, and you should ideally use a diamond disc. The most important thing is that you accurately measure the area you want to cut and mark where you’re going to make the cuts. Put on protective equipment before you start, such as a mask and hearing protection.

Once you’re all ready, trace a straight line across the stone with the grinder, going over it several times, then do exactly the same on the other side of the stone. Once you’ve done this on both sides, finish cutting the stone with a chisel, as this is the only way to achieve a completely straight cut. This final step is only necessary if the stone is very wide, as with smaller pieces of stone an electrical tool may be sufficient.

If you want to produce less dust when cutting the stone, you can slightly moisten the outside of the disc (do this carefully though, as remember that it’s an electric tool), and you’ll see how this helps to cut easier and also produce less residue.

Cutting stone with a splitting hammer or a Stone Buster

One final option is to use a splitting hammer to complete this task. This hammer has various different uses, but it is most commonly used for splitting stone. The simplest way to use it is to just strike the stone with the hammer until it splits. But if you’re looking to achieve a more precise cut, you should place it on the point where you’d like to split the stone, then use a second hammer to strike it until you obtain the desired result. This video will give you a visual explanation to help you understand the process better.

Tools for cutting stone

If you’re interested in learning more about the exciting world of sculpture, each week we will be releasing a new post to help you discover more about this art.

If you’re looking for tools to start sculpting and designing your own pieces, we have everything you could need! And if you have any queries, we would be delighted to help you with whatever you need.

Read more...
Page 4 of 5

Recomended products Stone carving tools

We use cookies
We use cookies on our website. Some of them are essential for the operation of the site, while others help us to improve the website and also the user experience. The use is exclusively internal to R&T. You can read all the information in our privacy and cookies links.